Part One: Process of Restoring an Eames Lounge Chair
This post offers a snippet of Danny's process when preserving an iconic piece of modern design. The following story took place over a course of about 6 weeks, from sourcing to completion.
The customer, the sourcing, and the preservation skills…all a part of the process. There are a few times throughout the year where we source a piece specifically for a someone, usually when they have a vision and want our help bringing it to life. As mentioned in the Paré Paré podcast we did on May 20th, we set out to find and restore a vintage Eames lounge chair to help move a collection steps closer to completion.
Sourcing
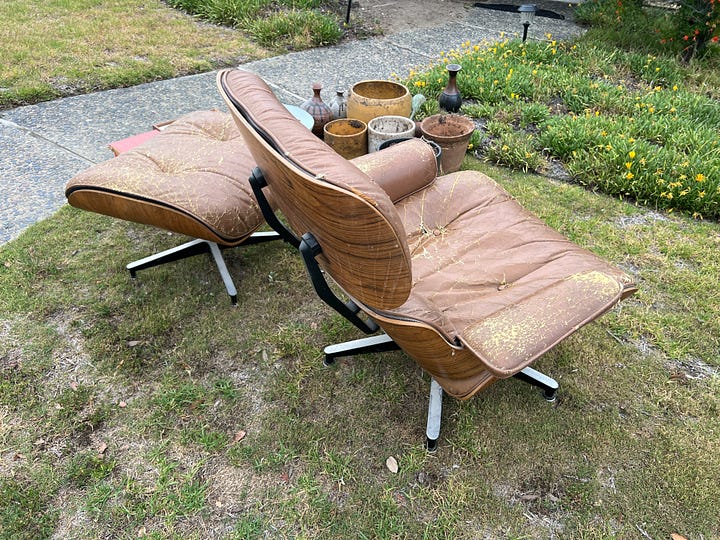
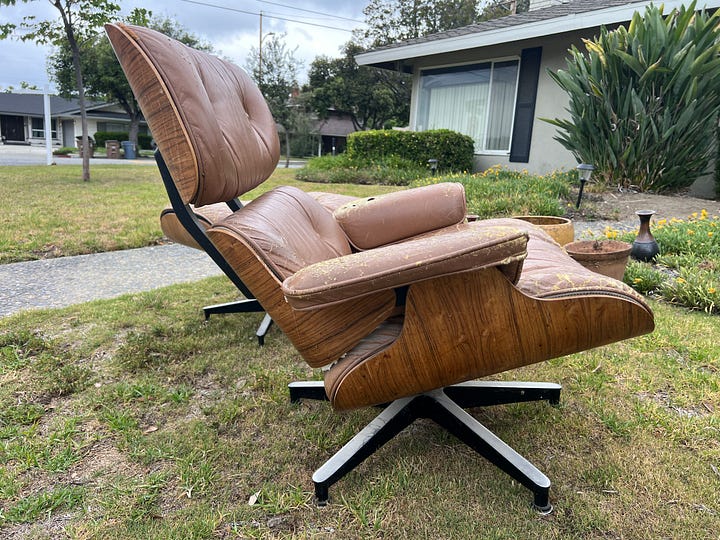
This Eames lounge chair came to us via a phone call of a customer. They knew of a neighbor who had kept this chair sitting in a living room, much loved, since the 1970s. Their number one concern in letting go of this beloved piece was knowing the next person would appreciate it as much as their family did. We shook hands. That kind of promise is an easy one for us to make.
Preservation
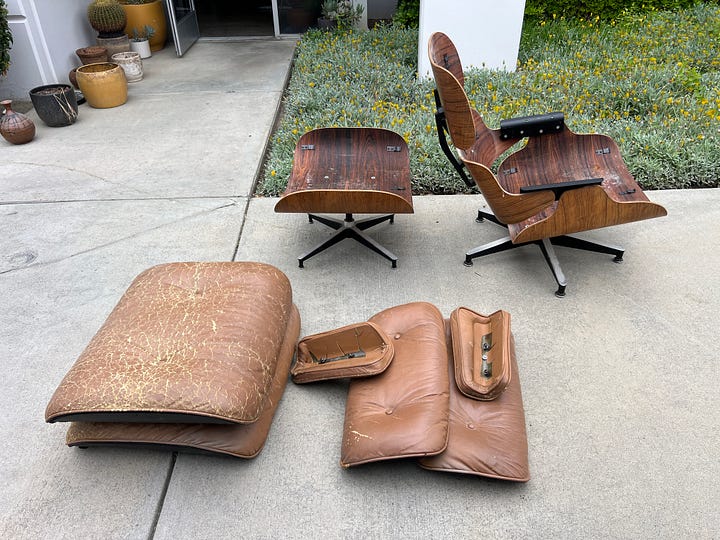
We don’t want things to sit too long in the shop, so after purchase, we move quickly to restoration. We made sure to stay in contact with our customer, and after analyzing and diagnosing the needed repairs, we worked with them to understand if patina was wanted and figure out our direction on new leather. We sourced the material as desired and entrusted the talented upholsterers at Dynasty (LA/Arlington Heights) to take care of the cushions.
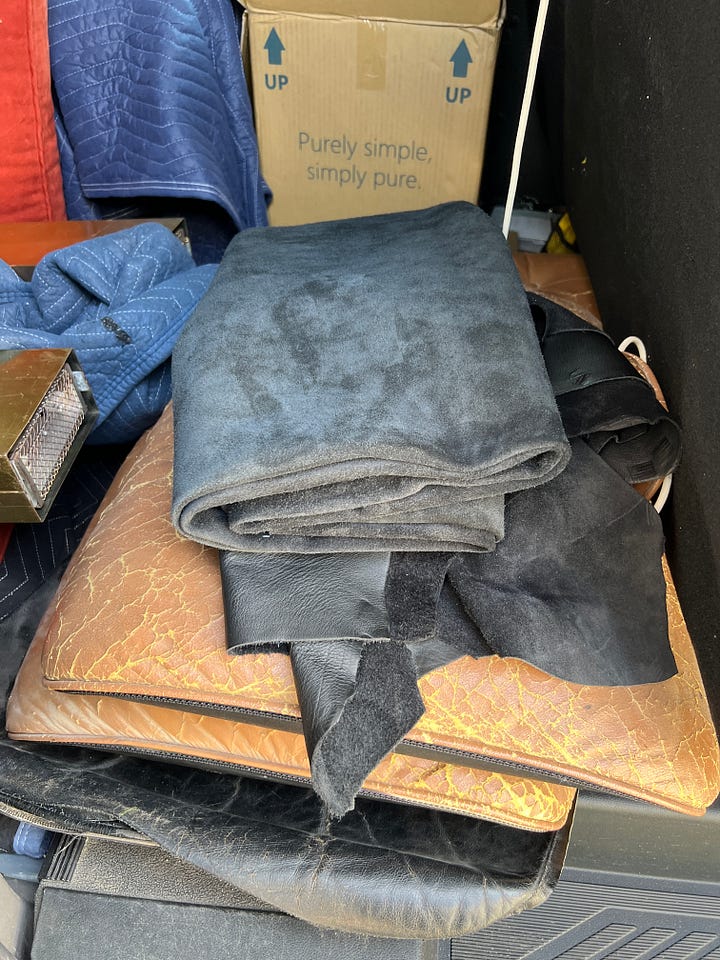
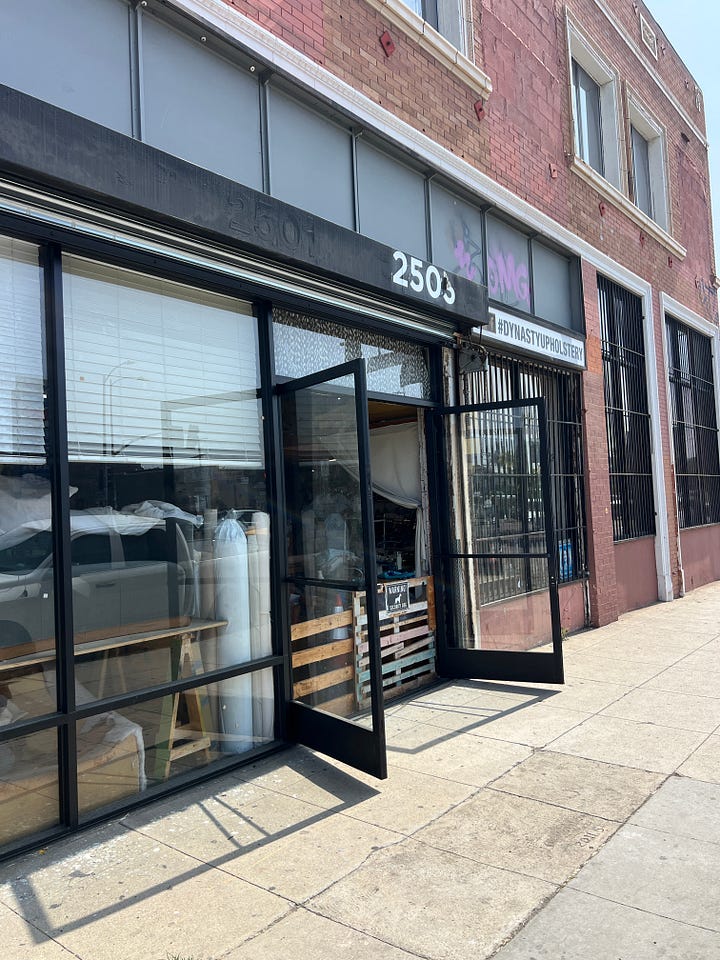
For next steps, we took the shells of the chair back to the workshop.
Every restoration process is different, depending on the needs of the chair. For this one, the main objectives were: replacing the shock mounts which hold the structure of the chair, fixing a veneer chip, polishing the aluminum, deep cleaning and servicing the hardware, and sanding & re-oiling the Brazilian rosewood shells.
Shock Mounts
The most common point of failure for an Eames lounge chair is the shock mounts –the rubber connection points that flex and move with the individual’s body. Shock mounts are iconic to true Eames chairs, as they give the chair its seamless floating appearance. Fresh and functional mounts are necessary to achieve the comfort that the design is known for. However, replacing them is frequently the first step in a vintage chair’s restoration. Over time, the rubber hardens and loses the flexibility required for smooth functioning.
We carefully cut the area around the original glue joint and then chisel off the old shock mounts. Once they’re removed, we clean off the old, dried glue and mark the original position of each mount with pencil and small pin nails. We then attach new, special-ordered OEM (Original Equipment Manufacturer) replacements with industrial strength adhesive. Using pins to ensure exact alignment allows us to preserve the chair’s functionality; even a few millimeters of displacement can affect the chair when it is reassembled.
While the overall design is mass produced, each chair requires its own shock mount placement that is specific to the chair panels. Though they’re meticulously crafted, the shells do not have exact 1:1 dimensions that remain consistent from chair to chair. This is especially true for versions from 1970 and before; the shaping, sanding and cutting of the shell panels had a handmade, almost coachbuilt quality. Because we’re working on vintage items, we have to take extra time and care to document and restore the piece to original specs.
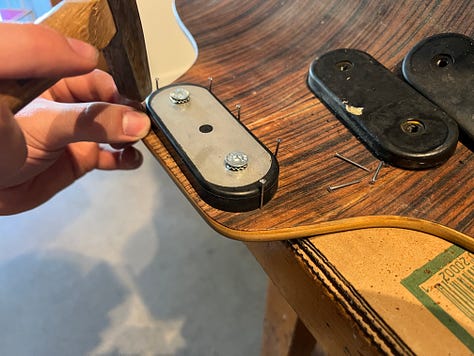
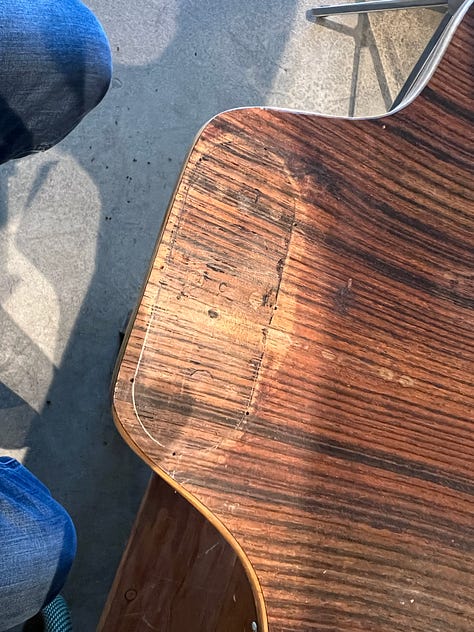
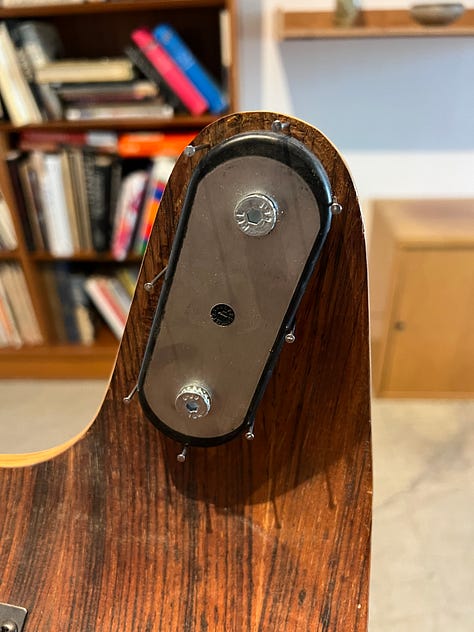
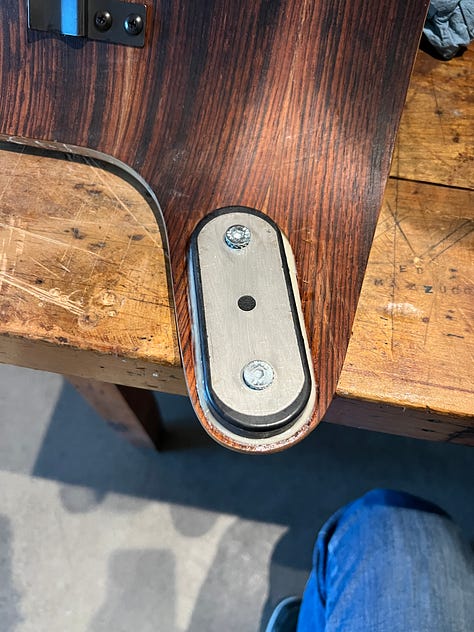
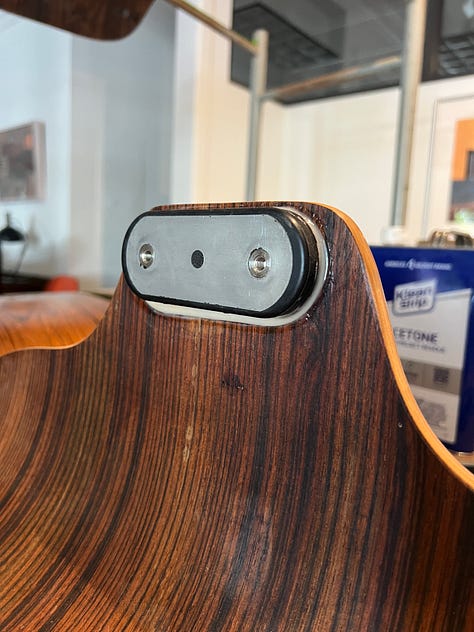
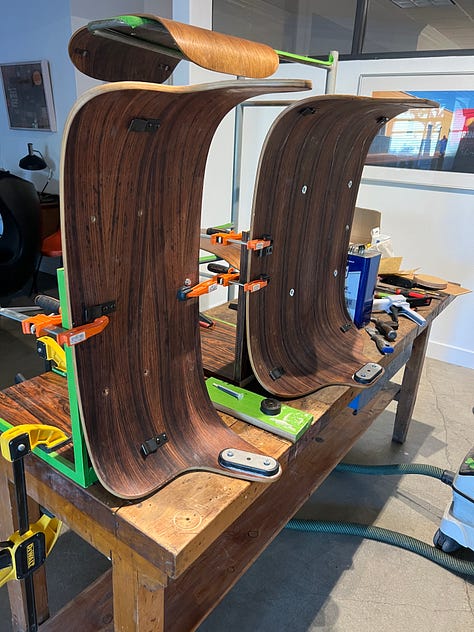
We do a “dry fit” (simple mock-up) of the chair in order to double check the secure and accurate placement of the shock mounts. In some cases, we use a jig to make a rebate, routing a new, clean area of wood for new adhesive and the replacement mount. Fundamentally, the Eames lounge chair is a design meant to be used. The mounts will need service, an inspection, and possible replacement after a few decades of use – their resilience and longevity are based on the frequency of their use. We make repairs to each chair with the idea that it will be ready to last another 50+ years, as it originally did. After the mounts have cured, testing the assembly is an important step to ensure this is possible.
Veneer
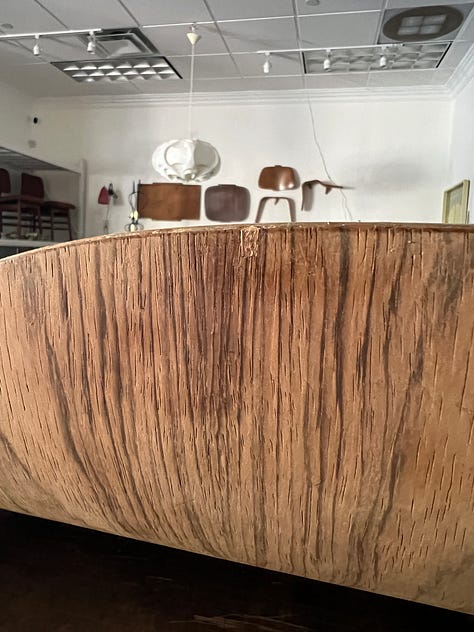
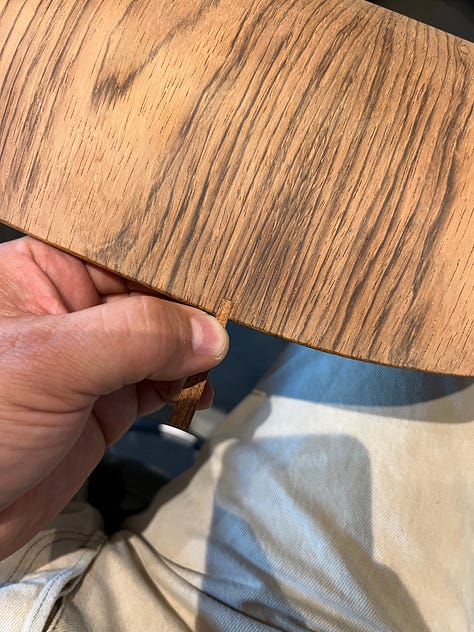
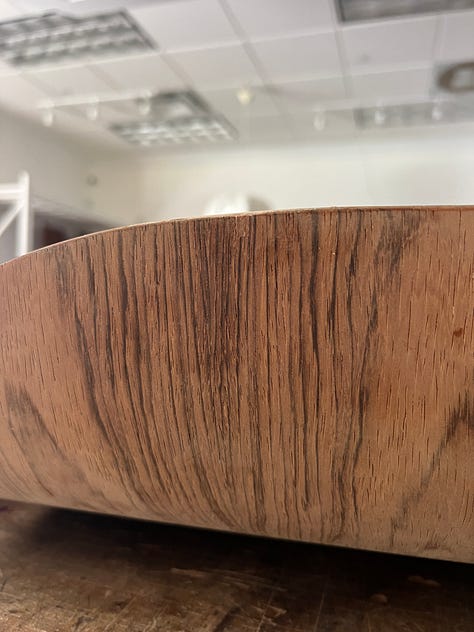
To fix chipped veneer, we first select a piece of identical rosewood veneer in a similar shade from our backstock. Then, we find an appropriate section of the veneer sheets where the grain patterns appear to match up. Using a tape template, we trim the new veneer to the shape of the chip before gluing it in, sanding it down, and touching it up with grain painting markers to blend in the seams and make the repair invisible to the eye.
Wood Refinishing
The bread and butter of repair and restoration. We do multiple passes with our Festool orbital sander, using pads of increasing grit to ensure a smooth and fresh surface. After each pass with the sander, we hand sand along the grain to remove any swirl marks. Once the shells are prepped, we use 4 coats of a custom tung oil to restore the gloss to original (or better than original) specifications.
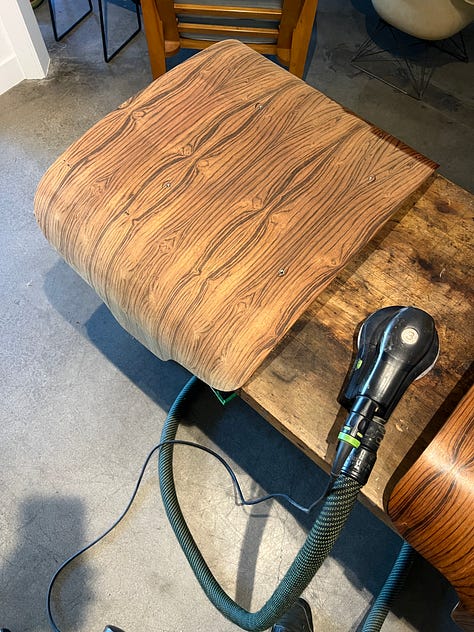
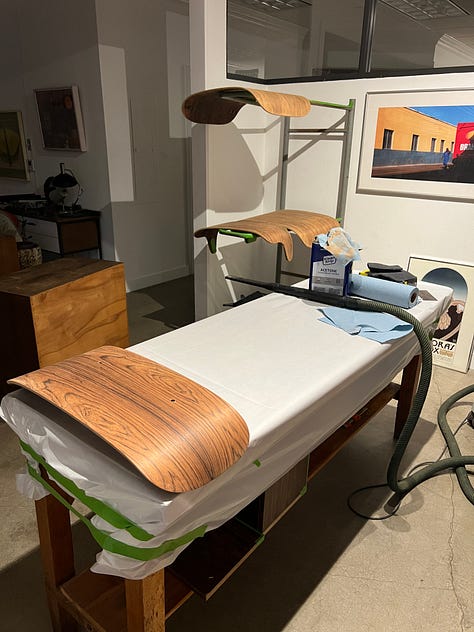
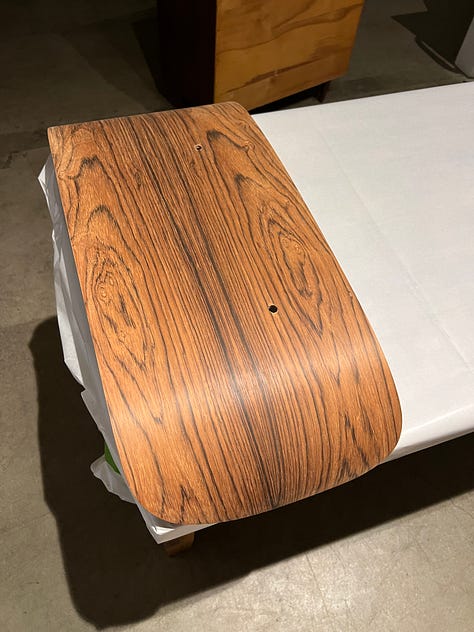
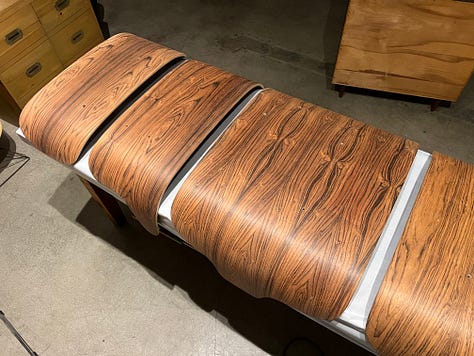
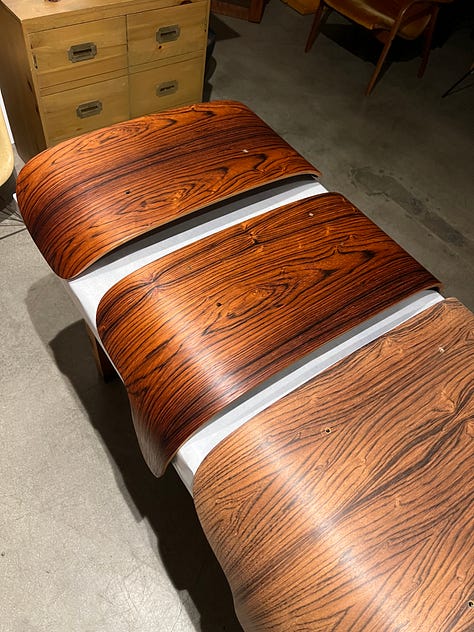
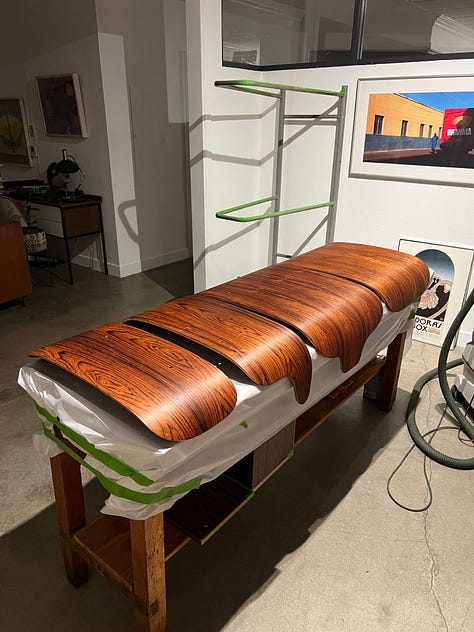
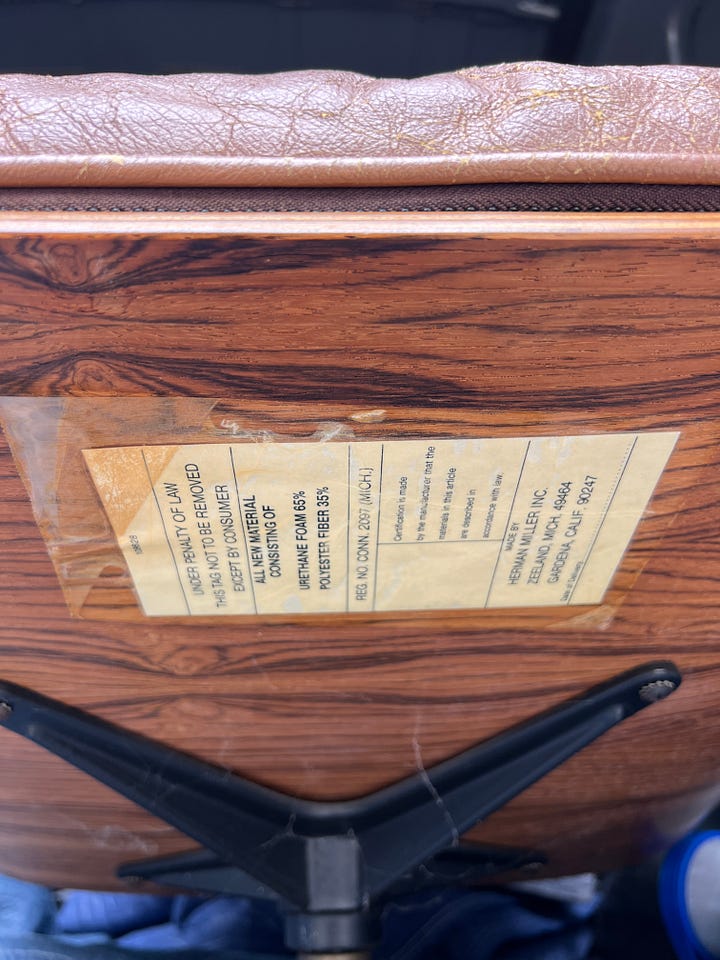
The shells are now fully prepped and ready for the chair to be reassembled. For this post, though, we’re coming to an end. In Part 2, we’ll cover assembly, hardware polishing, dealing with original (and new) labels, and final delivery.
Check Out Part 2
One of our goals from our 15 years in this industry (with a focus on restoring Eames pieces for the past 6 years) is to thoughtfully preserve iconic design whenever possible. If you have any questions for us or personal experience with the Eames lounge chair, feel free to open the conversation in the comments. If you’ve ever tried to restore one yourself, let us know how it went! You can also reach out if you’d like us to restore your chair.
Otherwise, we’ll see you in Part 2, where we’ll dive into the hardware cleanup, check in on our new leather upholstery, and assemble and deliver the chair to finish off this project.


